Sometimes I get a little tired with just a ‘simple’ photography. I think this is true for most of people – we can’t just do the same thing over and over again and not get bored with it. We need to mix things up. Thinking about it, I guess it doesn’t apply to the Japanese culture, in which people can dedicate their whole life to perfecting a single skill. Have you seen the documentary “Jiro Dreams of Sushi” ?
Anyway, I got a little sidetracked here. As I was saying sometimes I get really sick with photography to the point I can’t look at my camera without wanting to puke. Well, maybe I exaggerated a little, but you get the point. When it happens though, my creative urge doesn’t go away, so I try to come up with ways other than photography to let it out.
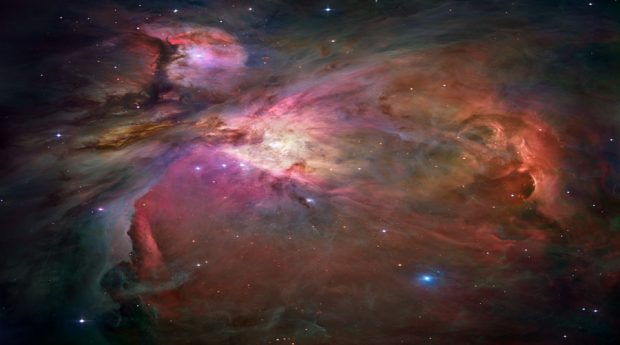
Being a photographer I have a lot of images in my Lightroom library, and when I don’t feel like shooting new ones, I try to reuse my old images to create something new out of them. Sometimes I get lucky and something nice comes out of my efforts, and when it does I want to share it with the world!
I call these series – “Space Fantasies”.
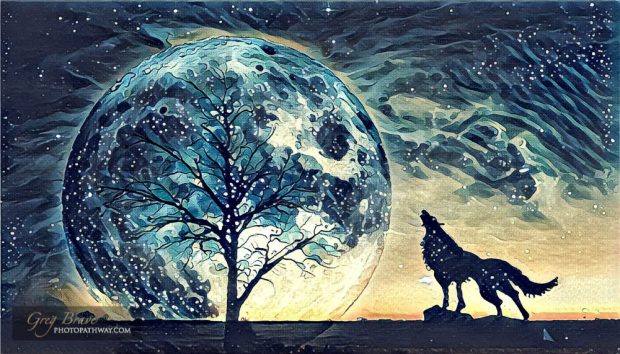
Since one of the purposes of this blog is to educate (ambitious, don’t you think?) I will share a bit about how the image above was created. The rest of the images you’ll see in this post were created similarly.
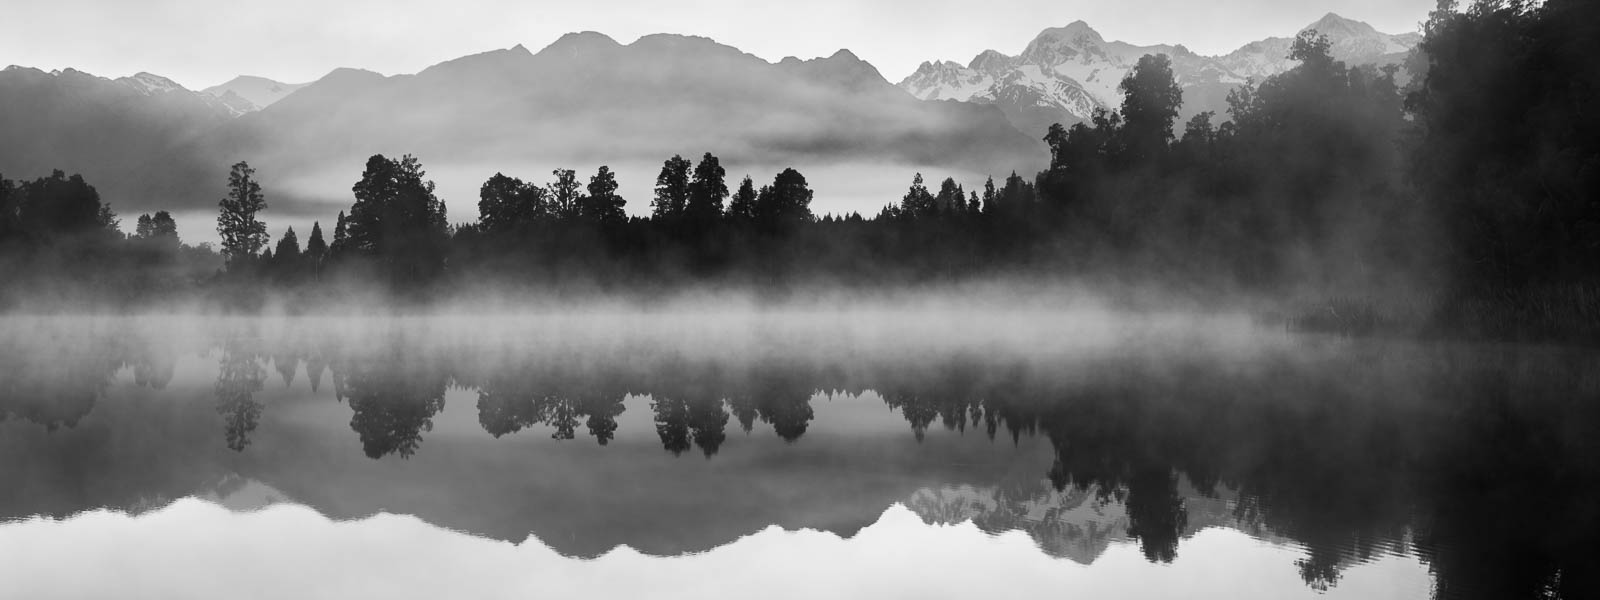
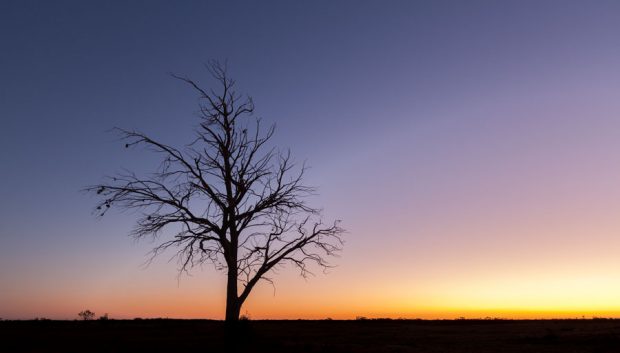
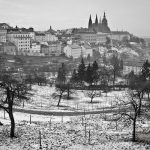
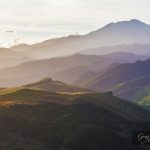
As you might’ve guessed it all started with a photograph. This one:
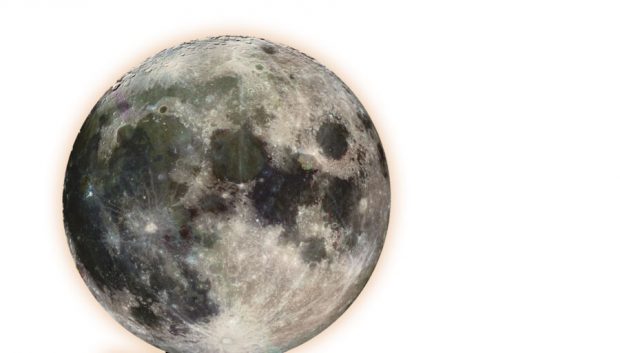
At first I was inspired by images of things with huge moon in the background so I just tried to add a moon to this image. Did you know that NASA has a great library of space imagery that is free to to use for anyone? That’s where I found my moon, since I don’t have a 600mm lens to shoot it myself. This moon:
Now we are getting somewhere! I thought to myself, but still something was missing…
A few days later I looked at it again and crazy thought crept into my perfectly sane mind – What if it was our moon after all!? If this is a moon, and it looks like night – something that was missing was a howling wolf! But I am not a wildlife photographer, and I don’t have photos of wolves laying around. Even if I did, I doubt I would have one in exactly the right pose that I imagined it should be. To find a solution, or to be more exact, to find a wolf, I started browsing through Google images searching for “howling wolf”, and I found quite a few images. But it didn’t feel right to use them in my artwork – I wanted to make it myself, you know?
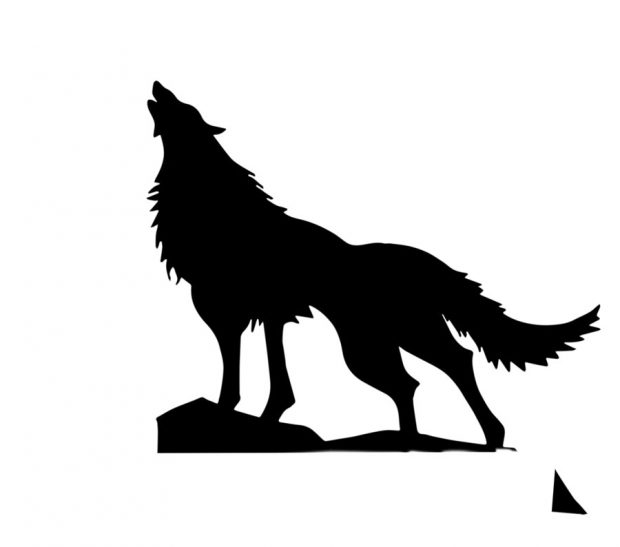
The solution came to me when I saw black and white logos of wolves – I realized that all I need is a silhouette! It doesn’t have to be a photograph. And still I wanted to make it myself. So I drew a wolf on a piece of paper using several different photos as references to get the exact pose I wanted. Then I took a photo of my drawing and brought it into Photoshop. Using the Image->Adjustments->Threshold filter I converted the photo to black and white:
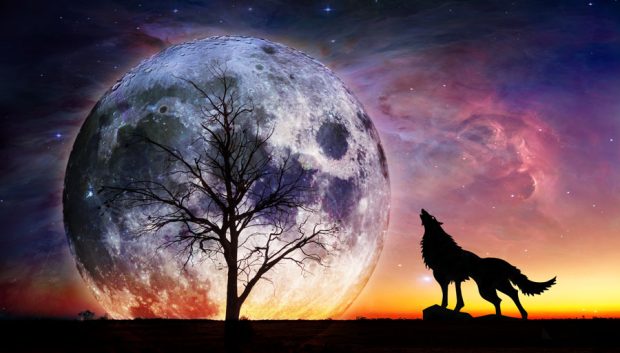
After tinkering with the image a little bit more, it seemed that all the pieces fell into place! I was quite satisfied with the result:
But my perfectly sane mind kept poking me, saying things like “psst! this could be better! try something else“. A few days later (you see, this was a long process!) I was playing with the Prisma app on my phone and got an idea to try putting my work through it. After trying a bunch of their filters, the one I liked the most was “Wave” (A tribute to the famous painting by Hokusai).
And that’s pretty much gave me the final image.
There is one more thing left to mention – Prisma outputs low res images, but I wanted it to have much larger resolution, so here is my somewhat complicated solution to the problem:
- Open the Prisma-processed image in Photoshop
- Enlarge the image to about 11 megapixels (Image->Image Size)
- Use Nik Sharpener Pro (for output) changing the following settings from defaults
- Structure = 50%
- Local contrast = 7%
- Focus = 10%
- Open the resulting image in Adobe Illustrator
- Trace the image in order to turn it into vector using “full color” leaving the rest of the settings as defaults
- Export back to JPEG from Illustrator at your desired resolution
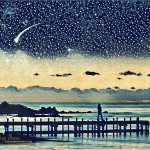
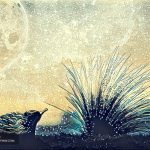
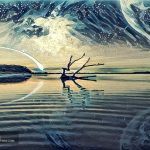
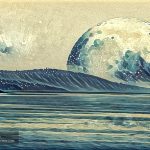
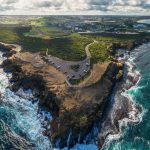
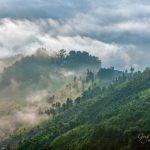
After getting my first fantasy-photo-collage-painting I couldn’t stop, and ended up with a whole series of works. Here they are. I hope this was of interest to some of you and provided useful info.
Enjoy!
– Greg
[UPDATE] Lately Prisma started offering an in-app purchase to be able to output high-res photos of up to 12MP.
[box type=”bio”] P.S. If you want one of these beauties printed on canvas and hanging on your wall – shoot me an email at greg@photopathway.com[/box]


this is great, and you were willing to leave instructions good for you